I decided to paint stripes in my hallway. Because the ones in my guest bathroom just weren’t enough. You can see that post here. 🙂 I already had a gallery wall and loved it, but I love what new paint can do to a room. Are you with me on this ladies? 🙂 So I thought, let’s paint stripes on the gallery wall. See my dining room striped wall here.
Table of Contents[Hide][Show]


This time I chose two different paint colors. Desert Fortress and Lyndhurst Timber from Lowe’s. I’m seriously loving both theses colors!


How To Paint Wall Stripes
- Start by measuring the wall from top to bottom a decide how wide you want your stripes. I did 12″ stripes.
- Use a yardstick to draw your line with a pencil.
- Tape the lines with Frog Tape. Trust me, get this kind of tape.
- Put pieces of tape on the wall area you Do Not want to be painted. This was so helpful!
- Use a roller brush to paint the stripes.
- Remove the tape after each stripe is painted. It will be wet. Do not let the paint dry before removing the tape. I felt this helped get the perfect stripe. (Just my opinion)
- If you are painting a second color wait a day before tapping on the newly painted areas.


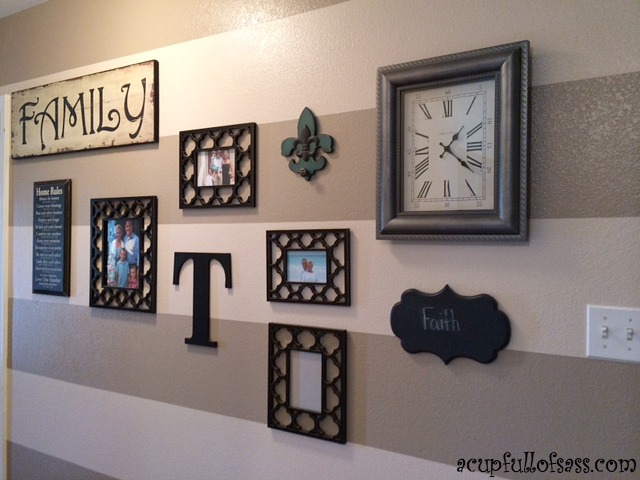
Now I am love with my striped gallery wall. I wanted to share where I bought my things from.
Picture Frames from Walmart
Letter T from Hobby Lobby
Black chalkboard plaque from Hobby Lobby
Wooden Family sign from Hobby Lobby
Fleur de lis from Hobby Lobby
Wall Clock from Hobby Lobby
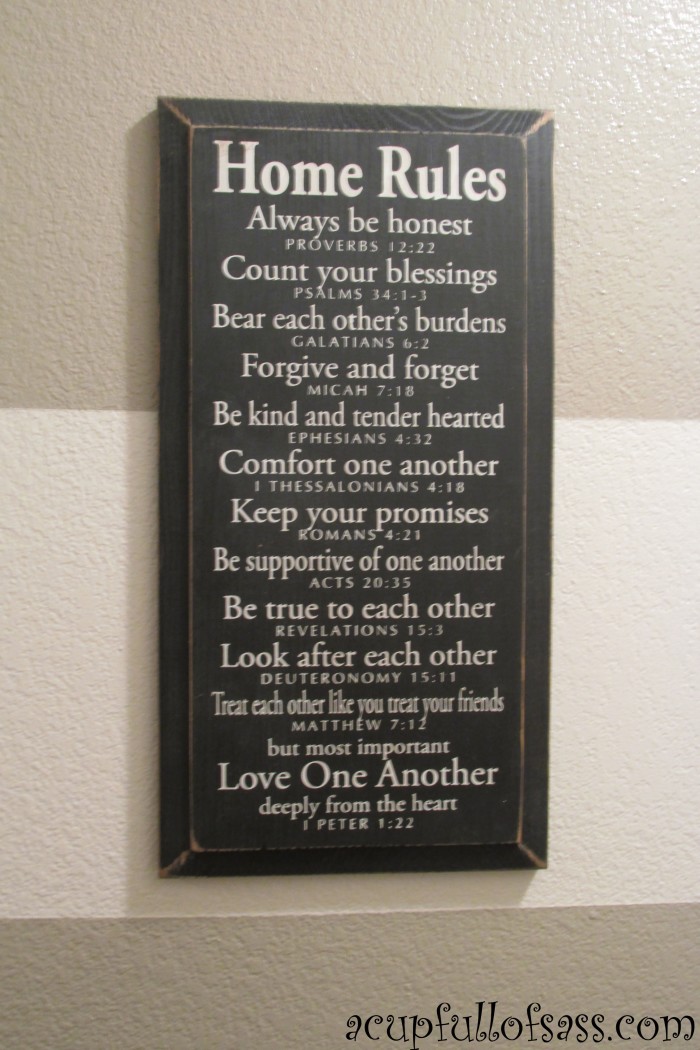
Home Rules Plaque from Etsy The picture is shown below. It is my favorite.


So what do you think? Leave me a comment and I will happily get back to you. Thanks for stopping by!


Love it! The colors are perfect!!
Thank you! I think so too!! And thanks for stopping by! 🙂
The stripes look great! I wish I had the patience to take on this type of project. I just think all the measuring and line drawing would drive me up the wall (no pun intended)! Not only do your stripes look great, but you did a great job hanging all the artwork level…I am sure my stripes or my artwork would look askew! Nice job!
Oh you are too sweet!! Thank you!! My hubby helped a lot with drawing the lines. And when I say help I mean he did it. lol Team work. Thanks for stopping by. 🙂
What a beautiful transformation! It was nice before the stripes but is very elegant now!!!
Oh thank you!! You are so sweet! I love the way it turned out! 🙂 Thanks for stopping by!
Gorgeous stripes and I am loving the paint colors you chose too!
Thank you Christine!! I am in love with the colors too!!
I absolutely love this! I am going to do this in my hallway! It adds a touch of elegance, I am going to paint my living room the darker color. Thank you for sharing this! It makes a statement without being overpowering. Thanks again!
Thank you so much Lisa!! I am so glad you will be doing your wall. It really makes a huge difference as I am sure you can see from my before and after pictures. I’m so glad to help! 😉
Btw, did you use semi-gloss, satin or gloss?
I used semi-gloss. 🙂
I love it!